在web 性能优化之图片部分中收集了一个把图片转换为低质量 base64code 的工具: lqip-loader。但具体如何将低质量图片占位符和图片逐步加载相结合,就需要自行实践。以下是一次实践探索。
引入 lqip-loader
- 创建一个 react 项目
npx create-react-app lqip-loader-demo npm run eject暴露 webpack 构建配置npm install --save-dev lqip-loader- 在
config\webpack.config.js中添加 lqip-loader 配置1
2
3
4
5
6
7
8
9
10
11
12
13
14
15
16
17{
/**
* default file-loader fallback
**/
test: /\.jpe?g$/,
loaders: [
{
loader: require.resolve('lqip-loader'),
options: {
path: '/public', // your image going to be in media folder in the output dir
name: '[name][hash].[ext]', // you can use [hash].[ext] too if you wish,
base64: true, // default: true, gives the base64 encoded image
palette: true, // default: false, gives the dominant colours palette
}
}
]
},
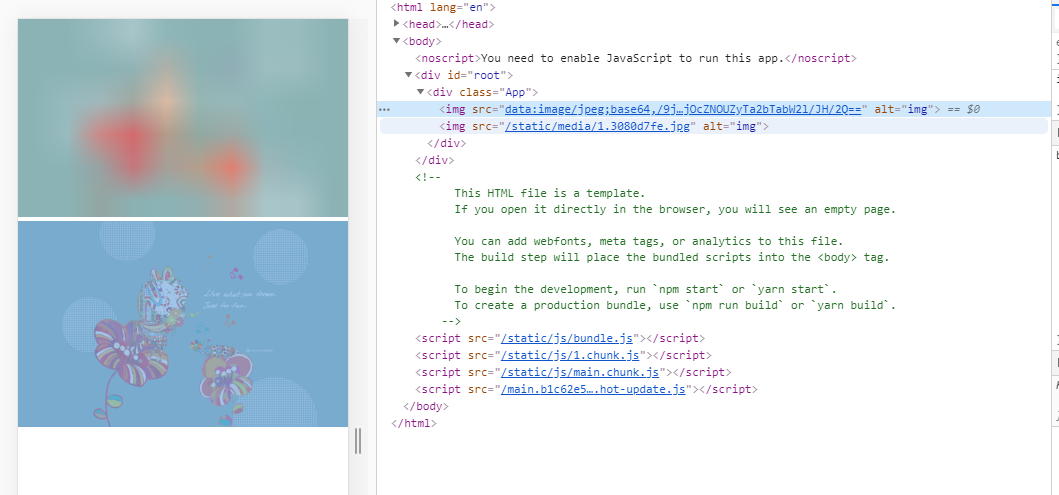
上述步骤完成后,webpack 打包输入的图片资源,就会变为一个对象:其中 src 属性为原图片资源,preSrc 属性为不超过 400byte 的低质量图片 base64code,下面是一个实例:
修改
src\App.js文件1
2
3
4
5
6
7
8
9
10
11
12
13import React from "react";
import "./App.css";
function App() {
return (
<div className="App">
<img src={require("./images/1.jpg").preSrc} alt="img"></img>
<img src={require("./images/1.jpg").src} alt="img"></img>
</div>
);
}
export default App;于是可以看到第一个 img 标签直接使用低质量 base64code,第二个 img 标签仍然对高质量的图片资源做出请求
图片逐步加载
图片逐步加载,就是在页面载入时,先显示低质量 base64code 图片占位符,在页面 onload 事件触发后(就是用户可交互后),再进行高质量图片的载入
要完成上述需求,需要完成组件src\LqImg.js:
1 | import React from "react"; |
然后改写src\App.js:
1 | import React from "react"; |
完成后,可以看到
上述 demo 可看 lqip-loader-demo